How Do Solar Street Lights Work: Components, Wiring & Power Flow
For B2B buyers evaluating outdoor lighting systems, understanding how solar street lights work is not a technical curiosity — it is the foundation of specification, cost comparison, and project planning. A solar street light is an independent, off-grid lighting unit that converts sunlight into electrical energy during the day, stores that energy in a battery, and uses it to power an LED luminaire at night. The system operates automatically through a controller, with no external wiring to the grid and no recurring electricity cost.
This article explains the core components, wiring logic, power flow, and the purchasing criteria that matter for importers, distributors, contractors, and project buyers sourcing solar street lights for commercial or municipal applications.
—
What Is a Solar Street Light?
A solar street light is a self-contained outdoor lighting system designed for roadways, parking lots, pathways, perimeter security, industrial zones, and public spaces where grid power is unavailable, unreliable, or expensive to extend. Unlike conventional street lights that draw AC power from underground cables or overhead lines, a solar street light generates and stores its own DC power on-site.
The system operates on a simple daily cycle: the photovoltaic (PV) module charges the battery during daylight hours, and the controller releases stored energy to the LED fixture after dusk. The entire system is designed to repeat this cycle for years with minimal intervention — provided the components are correctly sized and matched.
For importers and project buyers, the key commercial point is that solar street lights are not single products. They are integrated systems. The quality of a quote depends as much on the battery and controller as on the LED head or the pole. A low price usually means a compromise somewhere in that chain.
—
How a Solar Street Light Works: The Power Flow
Understanding how a solar street light works requires following the energy from the panel to the lamp:
1. Sunlight hits the PV module. Photons excite electrons in the solar cells, generating direct current (DC). The amount of energy produced depends on panel wattage, tilt angle, orientation, and solar irradiance at the installation site.
2. The charge controller regulates the flow. Raw solar output is variable. The controller — typically an MPPT (Maximum Power Point Tracking) or PWM (Pulse Width Modulation) unit — conditions the voltage and current to safely charge the battery without overcharging.
3. The battery stores the energy. Most modern systems use lithium iron phosphate (LiFePO4) batteries. The stored capacity, measured in watt-hours or amp-hours, determines how many nights the light can operate without meaningful solar input (rainy-day autonomy).
4. The controller triggers the LED at dusk. Using either a light sensor, a timer, or a programmed schedule, the controller detects when daylight has dropped below a threshold and switches on the LED fixture.
5. The LED luminaire consumes stored energy. Depending on the programmed profile — full brightness for a set number of hours, then dimmed output — the fixture draws power until dawn or until the battery reaches a safe cutoff voltage.
This closed DC-to-DC system eliminates the inverter stage found in grid-tied solar installations, reducing cost, complexity, and power conversion losses.
—
Core Components of a Solar Street Light System
While designs vary by manufacturer, every functional solar street light includes the following elements. Buyers should understand each one before comparing quotations.
1. Solar Panel (PV Module)
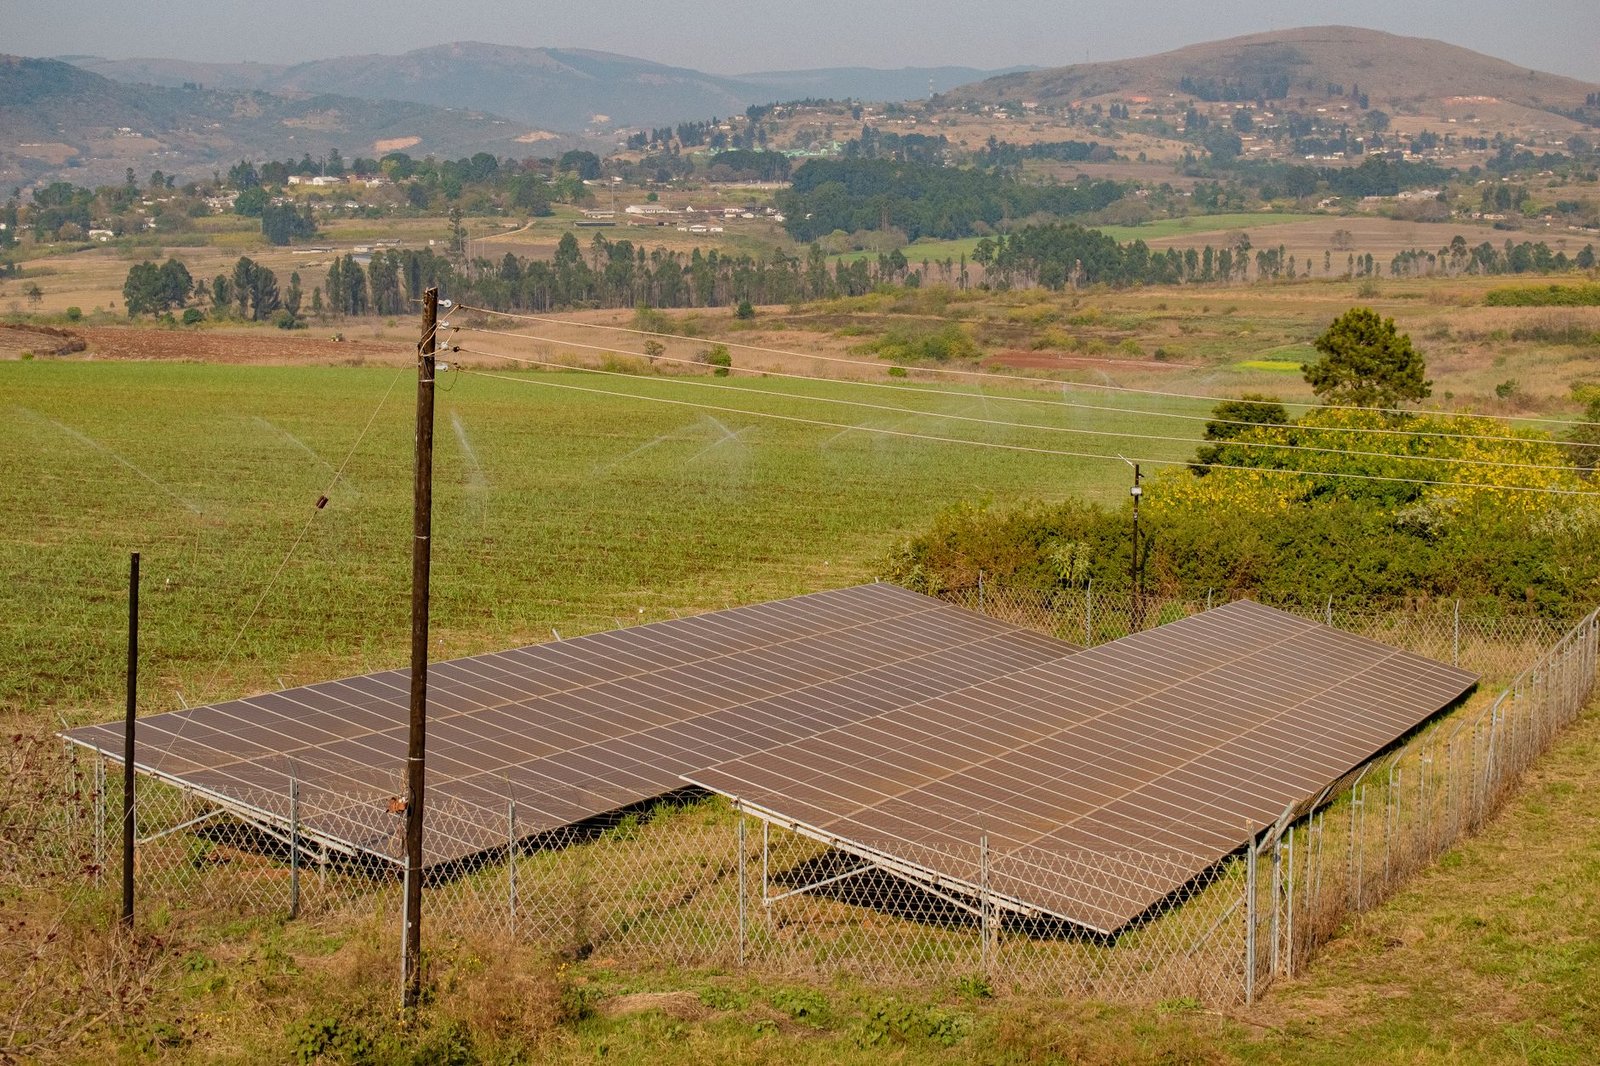
The panel is typically monocrystalline or polycrystalline silicon, mounted either on top of the pole, on a side arm, or integrated into the fixture housing in all-in-one designs.
– Monocrystalline panels generally offer higher conversion efficiency in a smaller footprint, which matters for high-wattage fixtures or locations with limited mounting space.
– Panel wattage must be matched to the daily energy consumption of the LED and the local peak sun hours. A mismatch here causes chronic undercharging.
Buyer verification: Ask for the panel’s rated wattage (Wp), efficiency class, and whether it uses a tempered glass face and anodized aluminum frame rated for outdoor exposure.
2. Rechargeable Battery
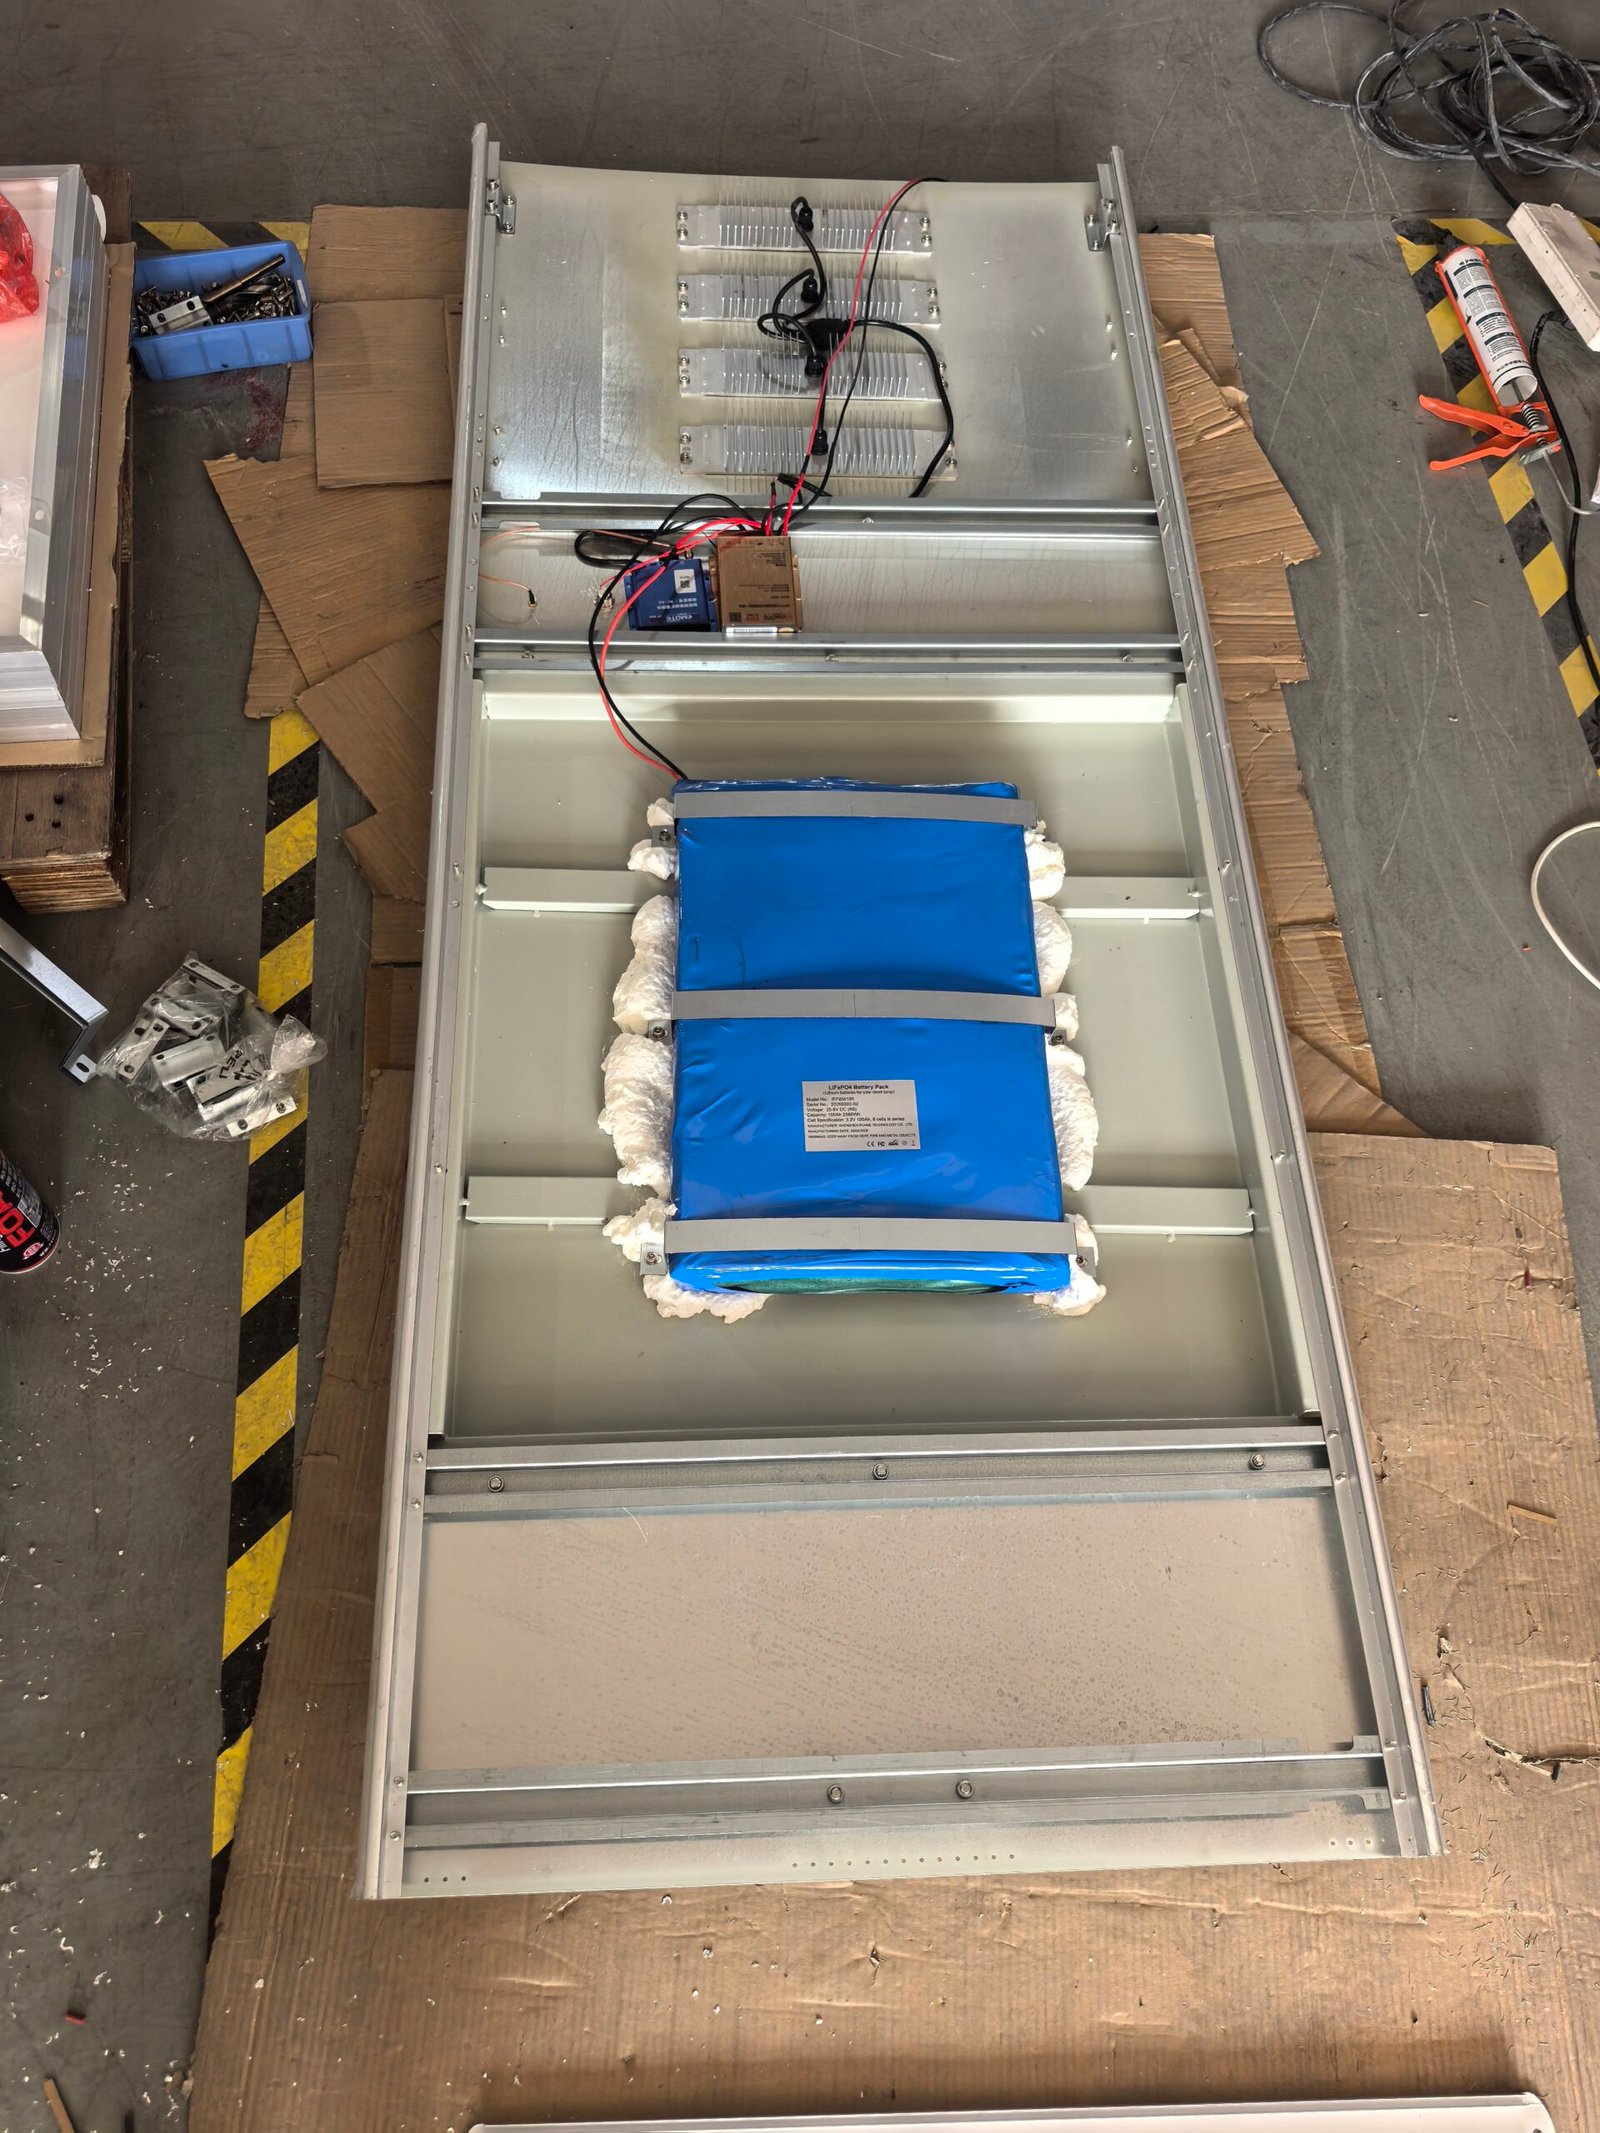
The battery is the most cost-critical and performance-sensitive component. Modern systems overwhelmingly use LiFePO4 (lithium iron phosphate) chemistry due to its cycle life, thermal stability, and depth-of-discharge tolerance compared to older lead-acid or ternary lithium alternatives.
– Capacity determines autonomy — how many nights the light can run without adequate solar charging.
– Cycle life typically ranges from 1,500 to 3,000+ cycles depending on the cell quality and operating temperature.
– Operating temperature range is critical for projects in hot climates (Middle East, Southeast Asia) or cold regions (Northern Europe, Canada).
Buyer verification: Confirm the cell brand, rated cycle life at a specified depth of discharge, operating temperature range, and whether the battery is accessible for replacement or entirely integrated.
3. Charge Controller
The controller manages the charging and discharging process and protects the battery from overcharge, deep discharge, and reverse current at night when the panel voltage drops.
– MPPT controllers extract more energy from the panel than PWM types, particularly in partial shading, low-temperature, or low-irradiance conditions. The efficiency difference can be 15–30% in real-world scenarios.
– Programmable controllers allow commissioning engineers to set lighting schedules, dimming profiles, and motion-sensor behavior.
Buyer verification: Request the controller type (MPPT vs. PWM), charging efficiency, and whether it supports remote monitoring or wireless configuration for large projects.
4. LED Luminaire
The LED fixture determines the actual lighting performance — lumen output, light distribution, and visual comfort.
– LED efficacy is expressed in lumens per watt (lm/W). Modern street light fixtures from serious manufacturers typically deliver 150–200 lm/W at the system level, though buyers should verify whether quoted figures refer to LED chip efficacy or the complete luminaire.
– Optics and lens design determine whether the light is distributed evenly across the road surface or wasted on the sky and surrounding properties.
– Correlated color temperature (CCT) is typically 3000K, 4000K, or 5000K depending on the application and local regulations.
Buyer verification: Ask for IES files or photometric reports to verify light distribution, not just lumen output. Confirm the LM-80 or equivalent data for LED chip lifespan.
5. Pole and Mounting Structure
The pole must support the panel surface area and wind load for the installation site.
– Pole height typically ranges from 4 to 12 meters depending on road width and lighting class requirements.
– Galvanized steel or aluminum poles are standard; coastal projects may require additional corrosion protection.
Buyer verification: Request wind load calculations for the specified pole height and panel configuration, and confirm galvanization thickness or coating standards.
6. Wiring and Connectors
Even in “wireless” solar street lights, internal wiring connects the panel, battery, controller, and LED. Poor-quality connectors or undersized cables are a common cause of premature system failure.
– Waterproof connectors (typically IP67 or IP68 rated) prevent moisture ingress at junction points.
– Cable gauge must be sized for the system current with low voltage drop, especially between the panel and controller.
Buyer verification: Confirm connector IP ratings and cable specifications. Cheap connectors fail long before the LED or battery does.
—
How Are Solar Street Lights Powered? Wiring and System Configurations
How are solar street lights powered in practice? The answer depends on the system architecture, which falls into three general categories:
| Configuration | Description | Typical Use Case |
|—|—|—|
| Split-type | Panel, battery, controller, and LED are separate components. Battery is often buried underground or mounted on the pole. Panel is mounted on top or on a side arm. | High-wattage applications, roadway lighting, projects requiring large panels and batteries |
| All-in-one (integrated) | Panel, battery, controller, and LED share a single housing. | Pathways, residential streets, commercial campuses, lower-wattage applications |
| Semi-integrated | Panel and LED are in one housing; battery is separate, often inside the pole base. | Medium-wattage projects balancing aesthetics and serviceability |
Power Flow in Each Configuration
In a split-type system, the DC power flows from the panel through the charge controller, into the battery, and then from the battery through the controller to the LED. The controller is the central hub, with all components wired to it.
In an all-in-one design, the same power flow occurs inside a single enclosure. This reduces external wiring and installation complexity but limits panel size and battery capacity due to physical constraints.
In a semi-integrated system, the panel charges the battery through a controller housed with the luminaire, while the battery sits in a separate compartment at the pole base or behind the panel.
For distributors and importers, the configuration choice affects installation labor, spare parts inventory, shipping volume, and after-sales service complexity. Split-type systems allow component-level replacement; integrated designs are simpler to install but often require whole-unit replacement if a major component fails.
—
Practical Selection Criteria for B2B Buyers
When evaluating how solar street lights work for a specific project, buying decisions should be guided by measurable criteria rather than marketing claims.
1. Daily Energy Balance
The fundamental sizing equation is:
Daily solar energy generated ≥ Daily energy consumed + System losses
A qualified supplier will ask for:
– Project location (latitude and climate zone)
– Peak sun hours or monthly solar irradiation data
– Required lighting hours per night (including dimming schedules)
– Required lighting level (lux) or lighting class (e.g., ME4a, P2, P4)
– Maximum allowable pole height
If a supplier quotes a price without requesting this data, treat it as a warning sign.
2. Rainy-Day Autonomy
Autonomy refers to the number of consecutive overcast days the system can sustain without significant solar charging. Typical specifications range from 3 to 7 days depending on the application and location. Longer autonomy requires larger batteries and panels, increasing both cost and pole load.
Buyer verification: Clarify whether the quoted autonomy assumes full brightness or a dimmed profile. The difference is substantial.
3. Ingress Protection (IP) Rating
– Lighting fixtures and integrated units: IP65 minimum; IP66 or IP67 preferred for coastal or high-humidity environments.
– Battery compartments and connectors: IP67 or IP68, especially for underground battery installations.
4. Operating Temperature Range
Batteries and controllers have specified operating ranges. Projects in the Middle East require systems that tolerate continuous 45°C+ ambient temperatures. Projects in Scandinavia require low-temperature charging protection. Verify the temperature range applies to the complete system, not just the LED.
5. Certification and Compliance
Depending on the destination market, buyers may need:
– IEC 61215 and IEC 61730 for PV modules
– IEC 62133 or UN38.3 for lithium batteries
– IEC 60598 or EN 60598 for luminaires
– CE, RoHS, FCC, or regional equivalents
– Photometric test reports (LM-79) for luminaire performance
Do not assume certification. Request copies of certificates and verify they cover the exact models being quoted.
—
Common Purchasing Mistakes to Avoid
SUNLUX frequently works with importers and project buyers who have learned the following lessons through experience. Avoiding these mistakes can save substantial cost and liability.
1. Comparing Quotes on Wattage Alone
Two “60W” solar street lights can differ dramatically in actual light output, battery capacity, and panel size. A 60W claim means nothing without the corresponding lumen output, system efficacy, and component specifications.
Solution: Compare total system specifications — lumens per watt, battery watt-hours, panel wattage, controller type — not just the marketing wattage.
2. Ignoring the Site’s Solar Resource
A system designed for 5 peak sun hours per day will fail in a region with 3.5 peak sun hours. Site-specific sizing is not optional.
Solution: Work with a supplier who uses PVsyst, RETScreen, or equivalent simulation tools to model the system’s energy balance for your specific location.
3. Overlooking Dimming and Control Flexibility
Without programmable dimming, the system must be oversized to sustain full brightness all night. With intelligent scheduling — such as full brightness from dusk to midnight, then 30% output until dawn — the same battery and panel can serve a smaller total energy budget.
Solution: Specify programmable dimming profiles and clarify whether the controller supports remote adjustments.
4. Choosing the Cheapest Battery
The battery is the component most likely to limit system lifespan. Low-cost cells may deliver acceptable performance for 6–12 months, then degrade rapidly. Replacing batteries at height or in bulk quantities eliminates any initial savings.
Solution: Specify LiFePO4 chemistry, request the cell datasheet, and confirm the supplier’s warranty terms for battery capacity retention.
5. Neglecting Installation and Maintenance Realities
Solar street lights are often marketed as “zero maintenance,” which is misleading. Panels require periodic cleaning in dusty environments. Batteries eventually need replacement. Controllers may need reprogramming.
Solution: Request a maintenance schedule from the supplier and confirm spare parts availability, especially for integrated designs.
—
Frequently Asked Questions
1. How do solar street lights work at night?
During the day, the solar panel charges the battery through the charge controller. At dusk, the controller detects the drop in ambient light and discharges stored battery energy to power the LED luminaire. The cycle repeats daily without external intervention.
2. Do solar street lights work in cloudy or rainy weather?
Yes, provided the system is designed with sufficient battery capacity and panel wattage for the local climate. This is expressed as “rainy-day autonomy” — typically 3 to 7 days. Performance during cloudy periods depends on the system sizing and whether a dimming profile is activated.
3. What is the lifespan of a solar street light system?
Component lifespans vary. LED modules from reputable manufacturers can operate for 50,000 hours or more. LiFePO4 batteries typically last 5 to 8 years depending on usage patterns, depth of discharge, and operating temperature. The pole and panel can last 15–20 years. Ask your supplier for component-level lifespan data rather than a single “system lifespan.”
4. Can solar street lights replace existing grid-powered street lights?
Yes, in many cases. Solar street lights are particularly cost-effective where grid extension requires trenching, cabling, transformers, or permits. Existing poles can sometimes be retrofitted with solar components, though structural load calculations must be verified.
5. Are all-in-one solar street lights better than split-type designs?
Not universally. All-in-one units are simpler to install and ship in smaller volume, but they cap panel and battery capacity. Split-type systems offer more design flexibility for high-wattage road lighting and allow component-level replacement. The right choice depends on the project’s wattage requirements, maintenance strategy, and installation constraints.
6. What certifications should I require for a solar street light purchase?
At minimum, request IEC or EN standards for the PV module, battery, and luminaire, plus CE or regional compliance certificates. For EU projects, RoHS is mandatory. Photometric reports (LM-79) verify actual light output. A serious supplier provides these documents without hesitation.
7. How much maintenance do solar street lights require?
Maintenance is modest but not zero. Panels require cleaning in dusty or sandy environments to maintain charging efficiency. Battery health should be checked periodically after the first three years. Controllers may need occasional inspection. Ask the supplier for a recommended maintenance schedule and spare parts lead times.
—
Partnering with SUNLUX for Solar Street Light Projects
Understanding how solar street lights work is the first step in sourcing equipment that performs reliably over a 5–10 year project horizon. The second step is selecting a manufacturing partner who provides transparent specifications, verifiable component quality, and the engineering support needed for project-scale deployments.
SUNLUX manufactures and supplies solar street lights, LED luminaires, and related infrastructure for importers, distributors, contractors, and municipal buyers worldwide. The company supports OEM and ODM cooperation, allowing clients to source products under their own brand with customized specifications, housing designs, and lighting profiles.
Whether you need split-type systems for a roadway project, integrated units for a commercial campus, or engineering support for a large tender, SUNLUX can provide technical documentation, photometric data, and detailed quotations tailored to your project location and performance requirements.
Contact SUNLUX today to discuss your project requirements, request specifications, or obtain a detailed quotation for solar street light systems.